This is Part Two of the UglyScale Press – Assemble of the Banana BPI-R3
Here is the link on how to setup ZimaBoard 216 as a firewall with pfSense. We are setting up a private network for Small Board Computers. This will be helpful for my future guides with Linux to help share IPs.
Now to setup a route for my network behind the pfSense. This is to give another level of security. I have two routers from Banana-Pi.
1) Banana-Pi R2 Pro
2) Banana-Pi R3
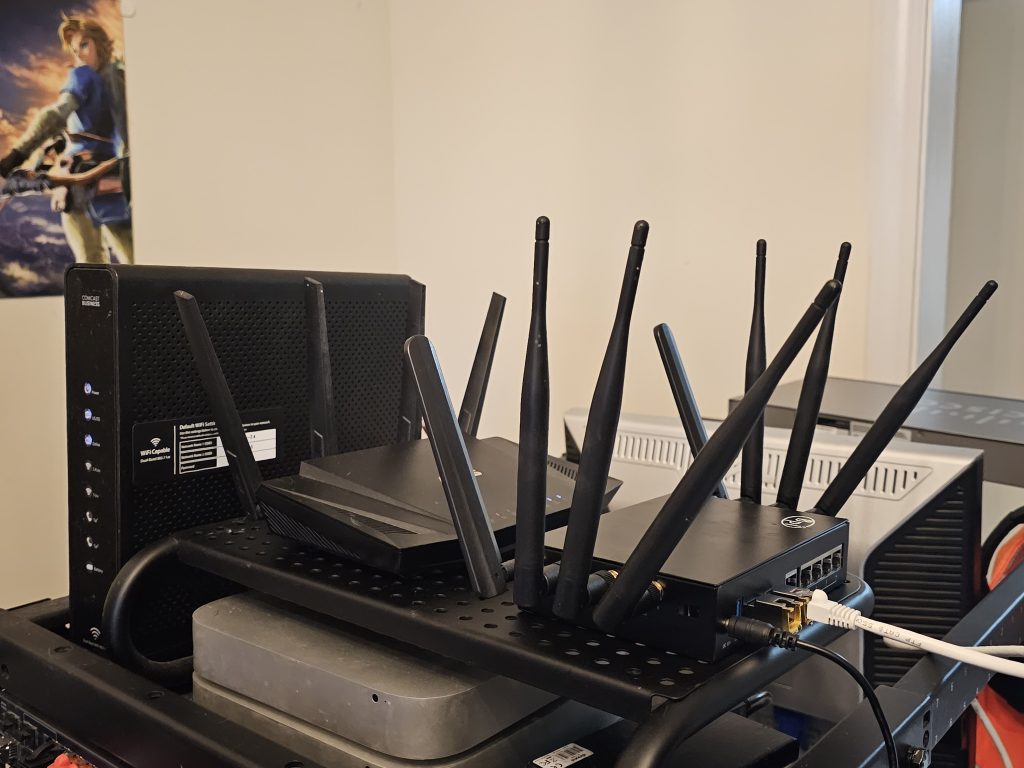
Because of the wireless that the Banana-Pi BPi-R3 has, we’ll setup the Banana-Pi R3 to come off the back of the ZimaBoard.
OpenWrt will be used on the Banana-Pi and on the Banana-Pi BPi-R3, so that it will be a true wireless router. Download the image this link.
It’s would recommend using a UART cable, plug in the UART port on the board, and application like Mobaxterm if on Windows. Picocom if on Linux.
| UART Cable | Board |
| RXD ( White ) | TXD |
| TXD ( Green ) | RXD |
| GND ( Black ) | GND |
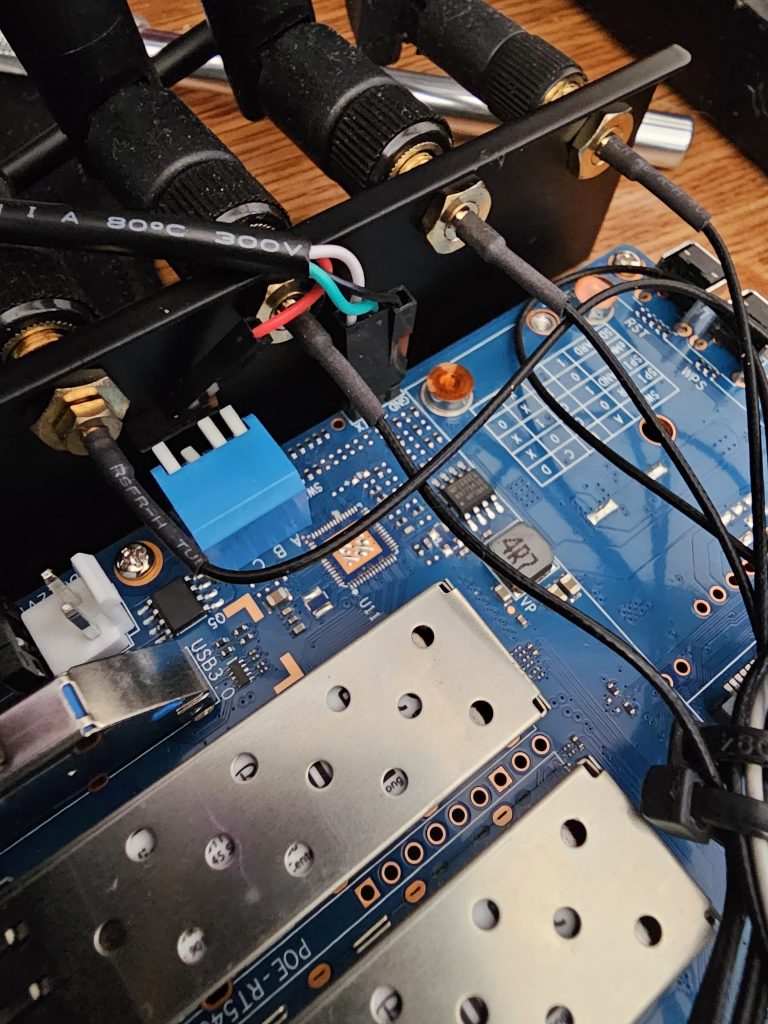
The USB TTYL Cable that I use color are as follows
Red = VCC
White = RXD
Green = TXD
Black = Ground
Check TTYL guide if different than what is shown above.
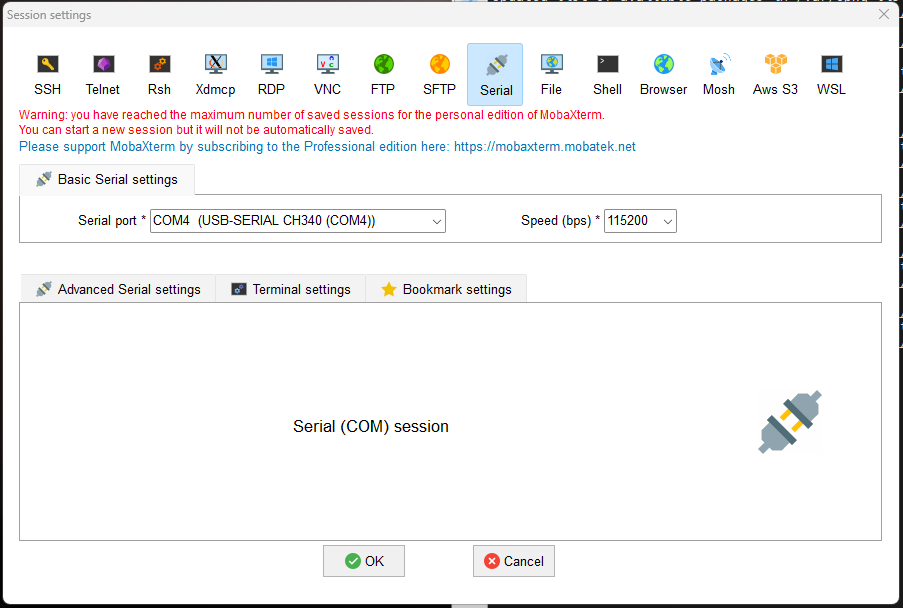
Once the cable is hooked before powering on the Banana-Pi BPi-R3, open Mobaxterm, follow the following steps
A) Click on Sessions
B) Click on Serial
C) Select the com port for your USB-SERIAL from the Serial Port down menu, and set the speed ( bps ) to 115200.
D) Press ok
Plug in the SD Card and plug in the power to the board. Plug in an ethernet cable into LAN1. The first thing that will pop up is the boot menu. Select the following
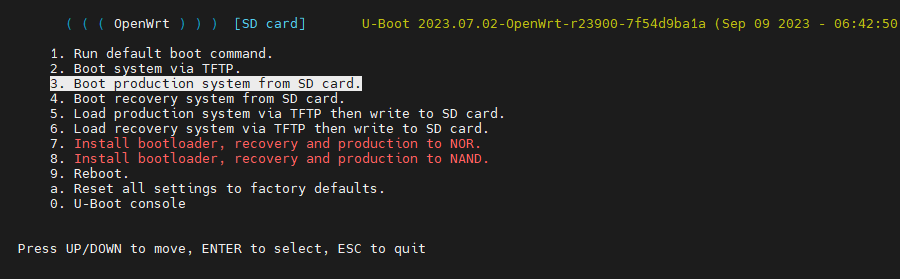
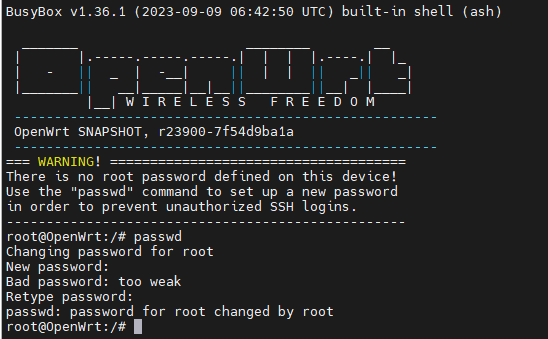
When the image boots up the root password. Within the terminal window, press enter once and then use passwd to setup the password.
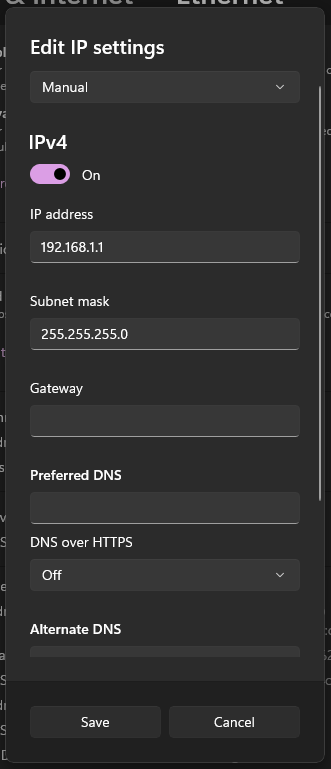
NOTE: Like most routers, the default ip for the route is 192.168.1.1. If you don’t have a UART USB Cable, plug in the SD Card and power on the board, wait about 2 minutes for the board to come up. That is, if the board does not have image on the eMMC. Otherwise plug in an ethernet cable into LAN1, and into a laptop/desktop, then set up that ethernet to 192.168.1.2/255.255.255.0. No need for a gateway.
Use a program like Mobaxterm. Open a local terminal then SSH to board, again the root password will need to be set.
ssh 192.168.1.1Now lets setup the LAN IP, to be on VLAN 107.
uci set network.lan.ipaddr="192.168.107.2"
uci set network.lan.gateway="192.168.107.1"
uci set network.lan.dns="75.75.75.75"
uci commit
/etc/init.d/network restart
Next install the web gui to finish the install
opkg update
opkg install luci-ssl
Now access router via the browser
http://192.168.107.2 or https://192.168.107.2 ( NOTE: An error about the cert will come up )
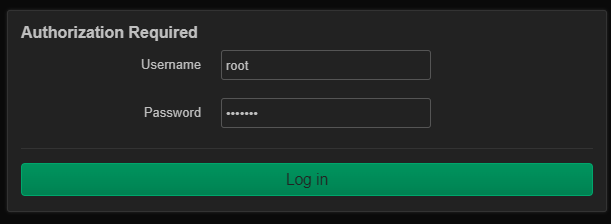
It will request the password for root to enter the gui to finish the setup.
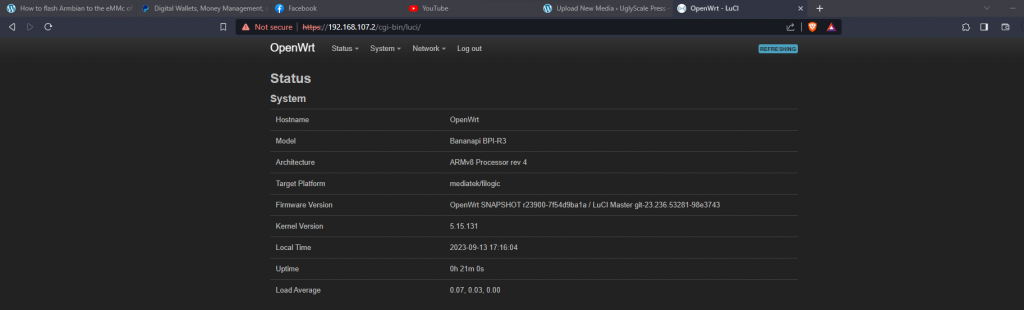
Now the Banana-Pi BPi-R3 is running OpenWRT. Part 2-B will come out soon showing how to configure Banana-Pi BPi-R3.
Here is a video of me assembling the Banana-Pi BPi-R3.