Update: 10/24/23
The Orange Pi 5 is an new board that been out since December of 2022. What make this board special is the face that is com 8-cores of the 64-Bit Arm process running on the RockChip RK3588 Arm Process. This board beats out the Odroid M1 both numbers of cores and processors. It has boards that offer 16 GB and 32 GB of memory (Officially out as October 2023), thus making this possible smallest libvirtd server.
To set up for this test the following were used
* OrangePi 5 with 16GB
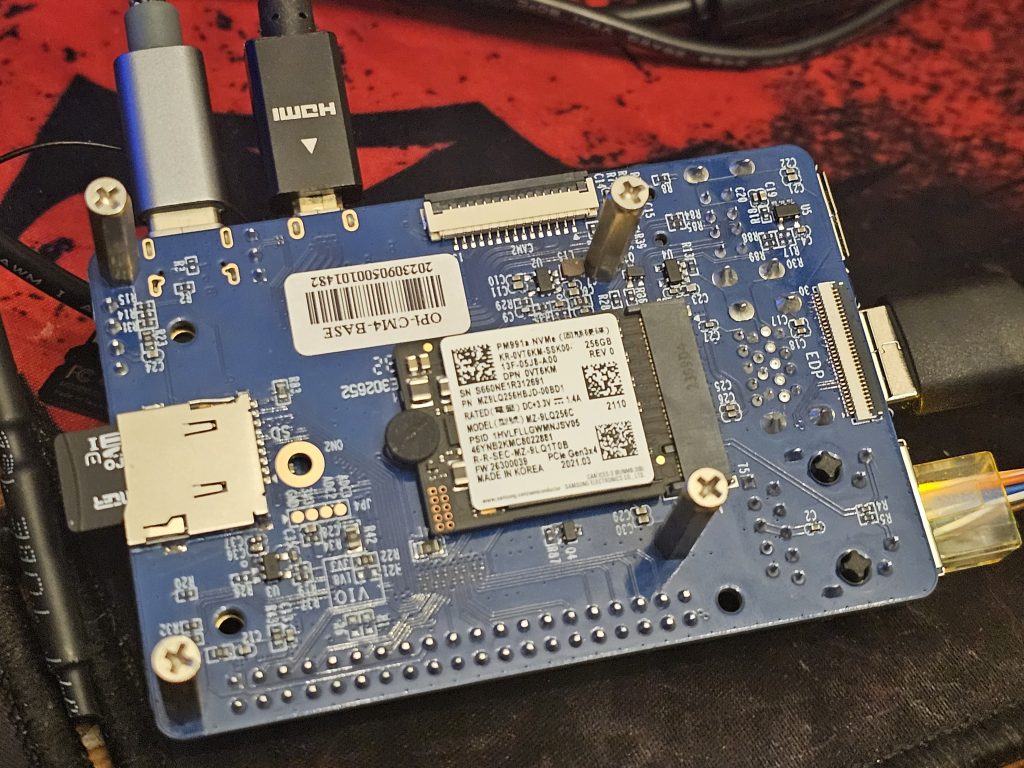
( Updated used Orange Pi CM 4, 8 Gigs of Memory, 4 Core RK3566, and 64 eMMC )
* Samsung 2230 NVMe M.2 256 GB
* Debian Linux
Please follow the guide in the manual on how to setup up the Orange Pi 5 to setup boot from the NVMe. Would not recommend this to run from SD Card.
Now to show that Orange Pi 5 can run libvirtd, check to make sure the device shows up.

Once the drive has been setup and the Orange Pi 5 is running off the NVMe, the following software needs to be installed to run libvirtd on the Orange Pi 5.
sudo apt install virt-manager libvirt0 qemu-system libvirt-daemon libvirt-daemon-system libvirt-daemon-system-systemd libvirt-clients libvirt-daemon-config-network qemu-efi-arm qemu-efi-aarch64Once this is done, follow this post on Libvirtd on Processors Arm from “Creating a virtual machine“
I have also created the Youtube video that shows how to install software and struggles had getting it working.
It’s a bit long but it shows how I got it working, and installed openSUSE as virtual guest with virt-manager.
Update
Orange Pi has release an Orange Pi CM4, with a RockChip 3566/four core, this compute module only some with 8 GB of memory and up to 64 GB of eMMC storage. It can be bought with a I install Orange Pi version of Debian 11, on to the eMMC. I then ran the install above. Once done, I add the orangepi user to the libvirt-qemu group.
I/O board can be purchase to use with the Orange Pi CM4. The board is nice, because a NVMe M.2 2230 can be use with the I/O board. I installed 256 GB NVMe, this was setup as ext4, for the virtual guest storage.
/vhosts
The other thing was to use NetworkManager to created a bridge device using the eth0 ethernet device.
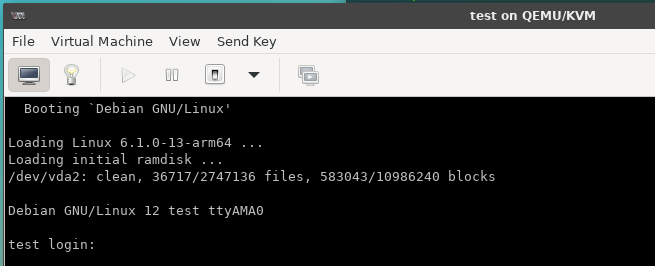
Next downloaded Debian 12 Arm ISO. Setup a simple virtual guest using console.
50 GB Raw Image ( Not Cow )
2 GB Memory
2 Cores
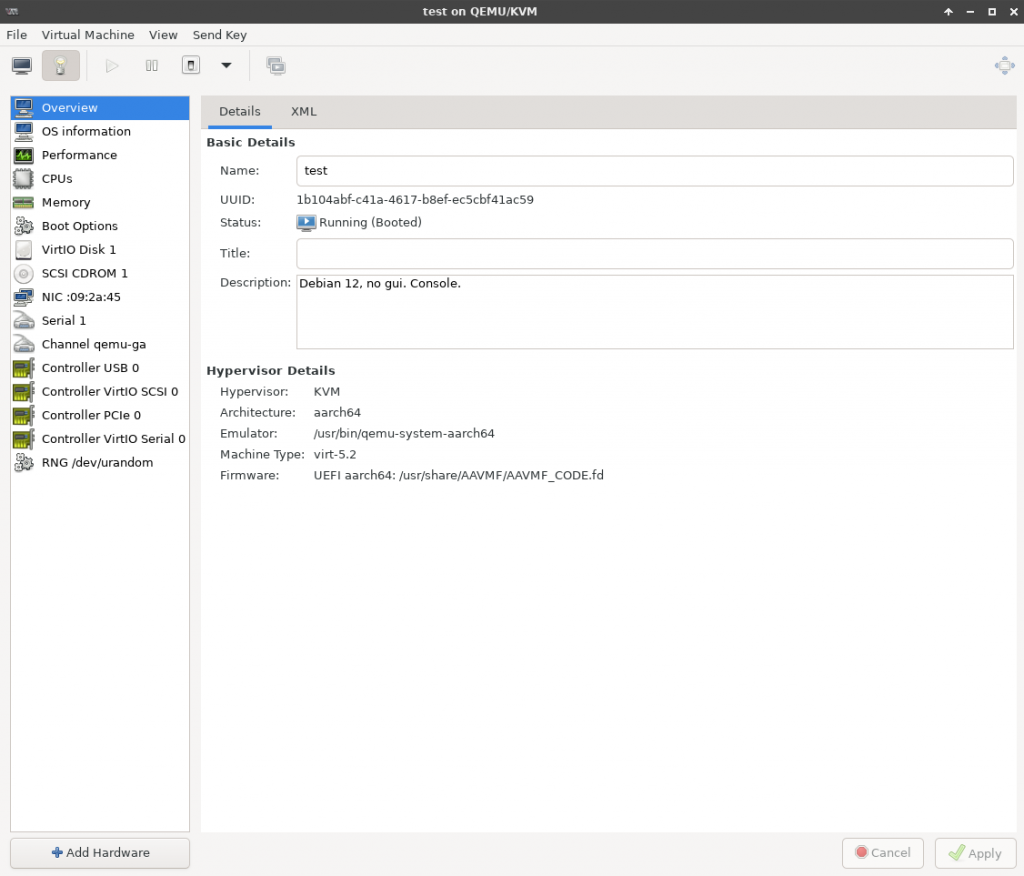
Using this method, the screen will be small and no window manager can be used. Idea for server. The output will be small and limited.
Next create another new virtual guest with the same specs above that can support GUI.
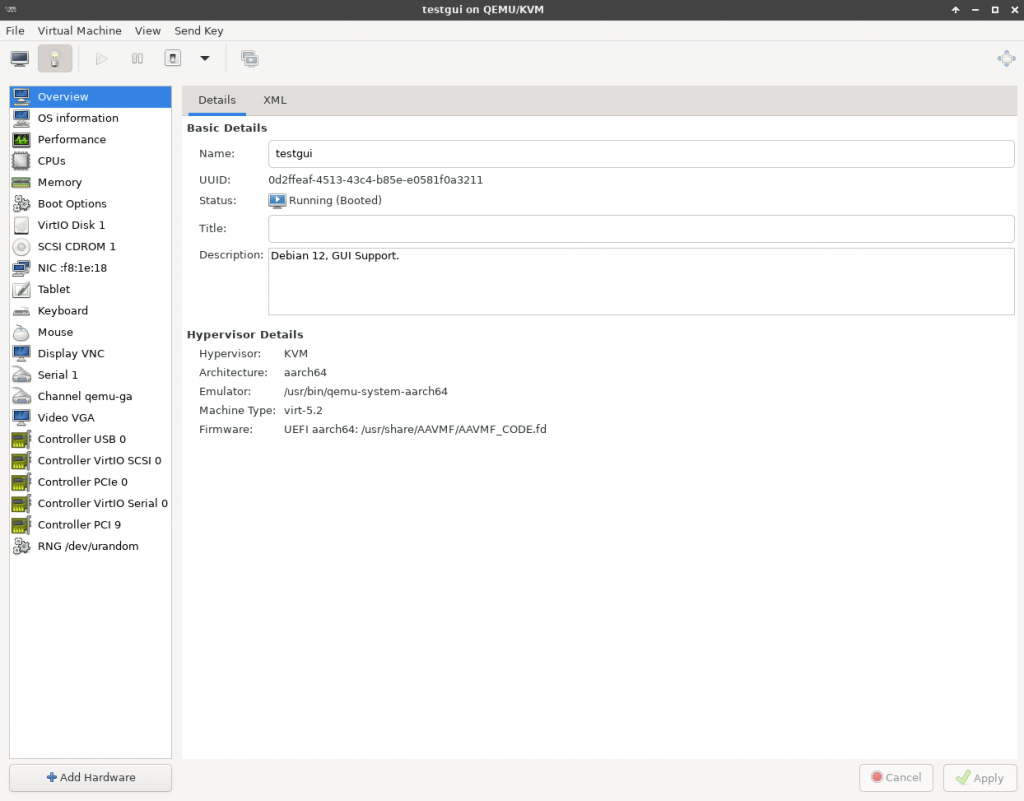
By adding the following will allow guest to run GUI’s.
- EvTouch USB Graphics Tablet
- USB Keyboard
- USB Mouse
- VNC Server ( Display VNC )
- Video VGA
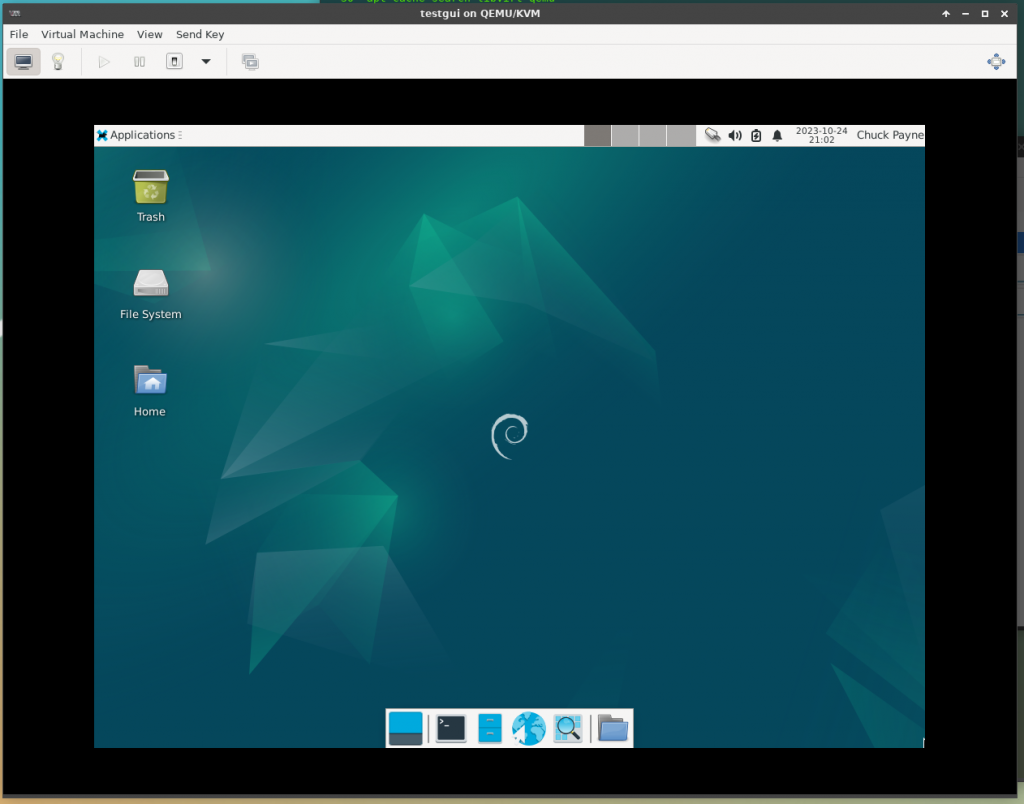
Please note, that when the image first both it will complain that the gui has not started. This will take a to launch.